Raspberry Pi camera board video streaming
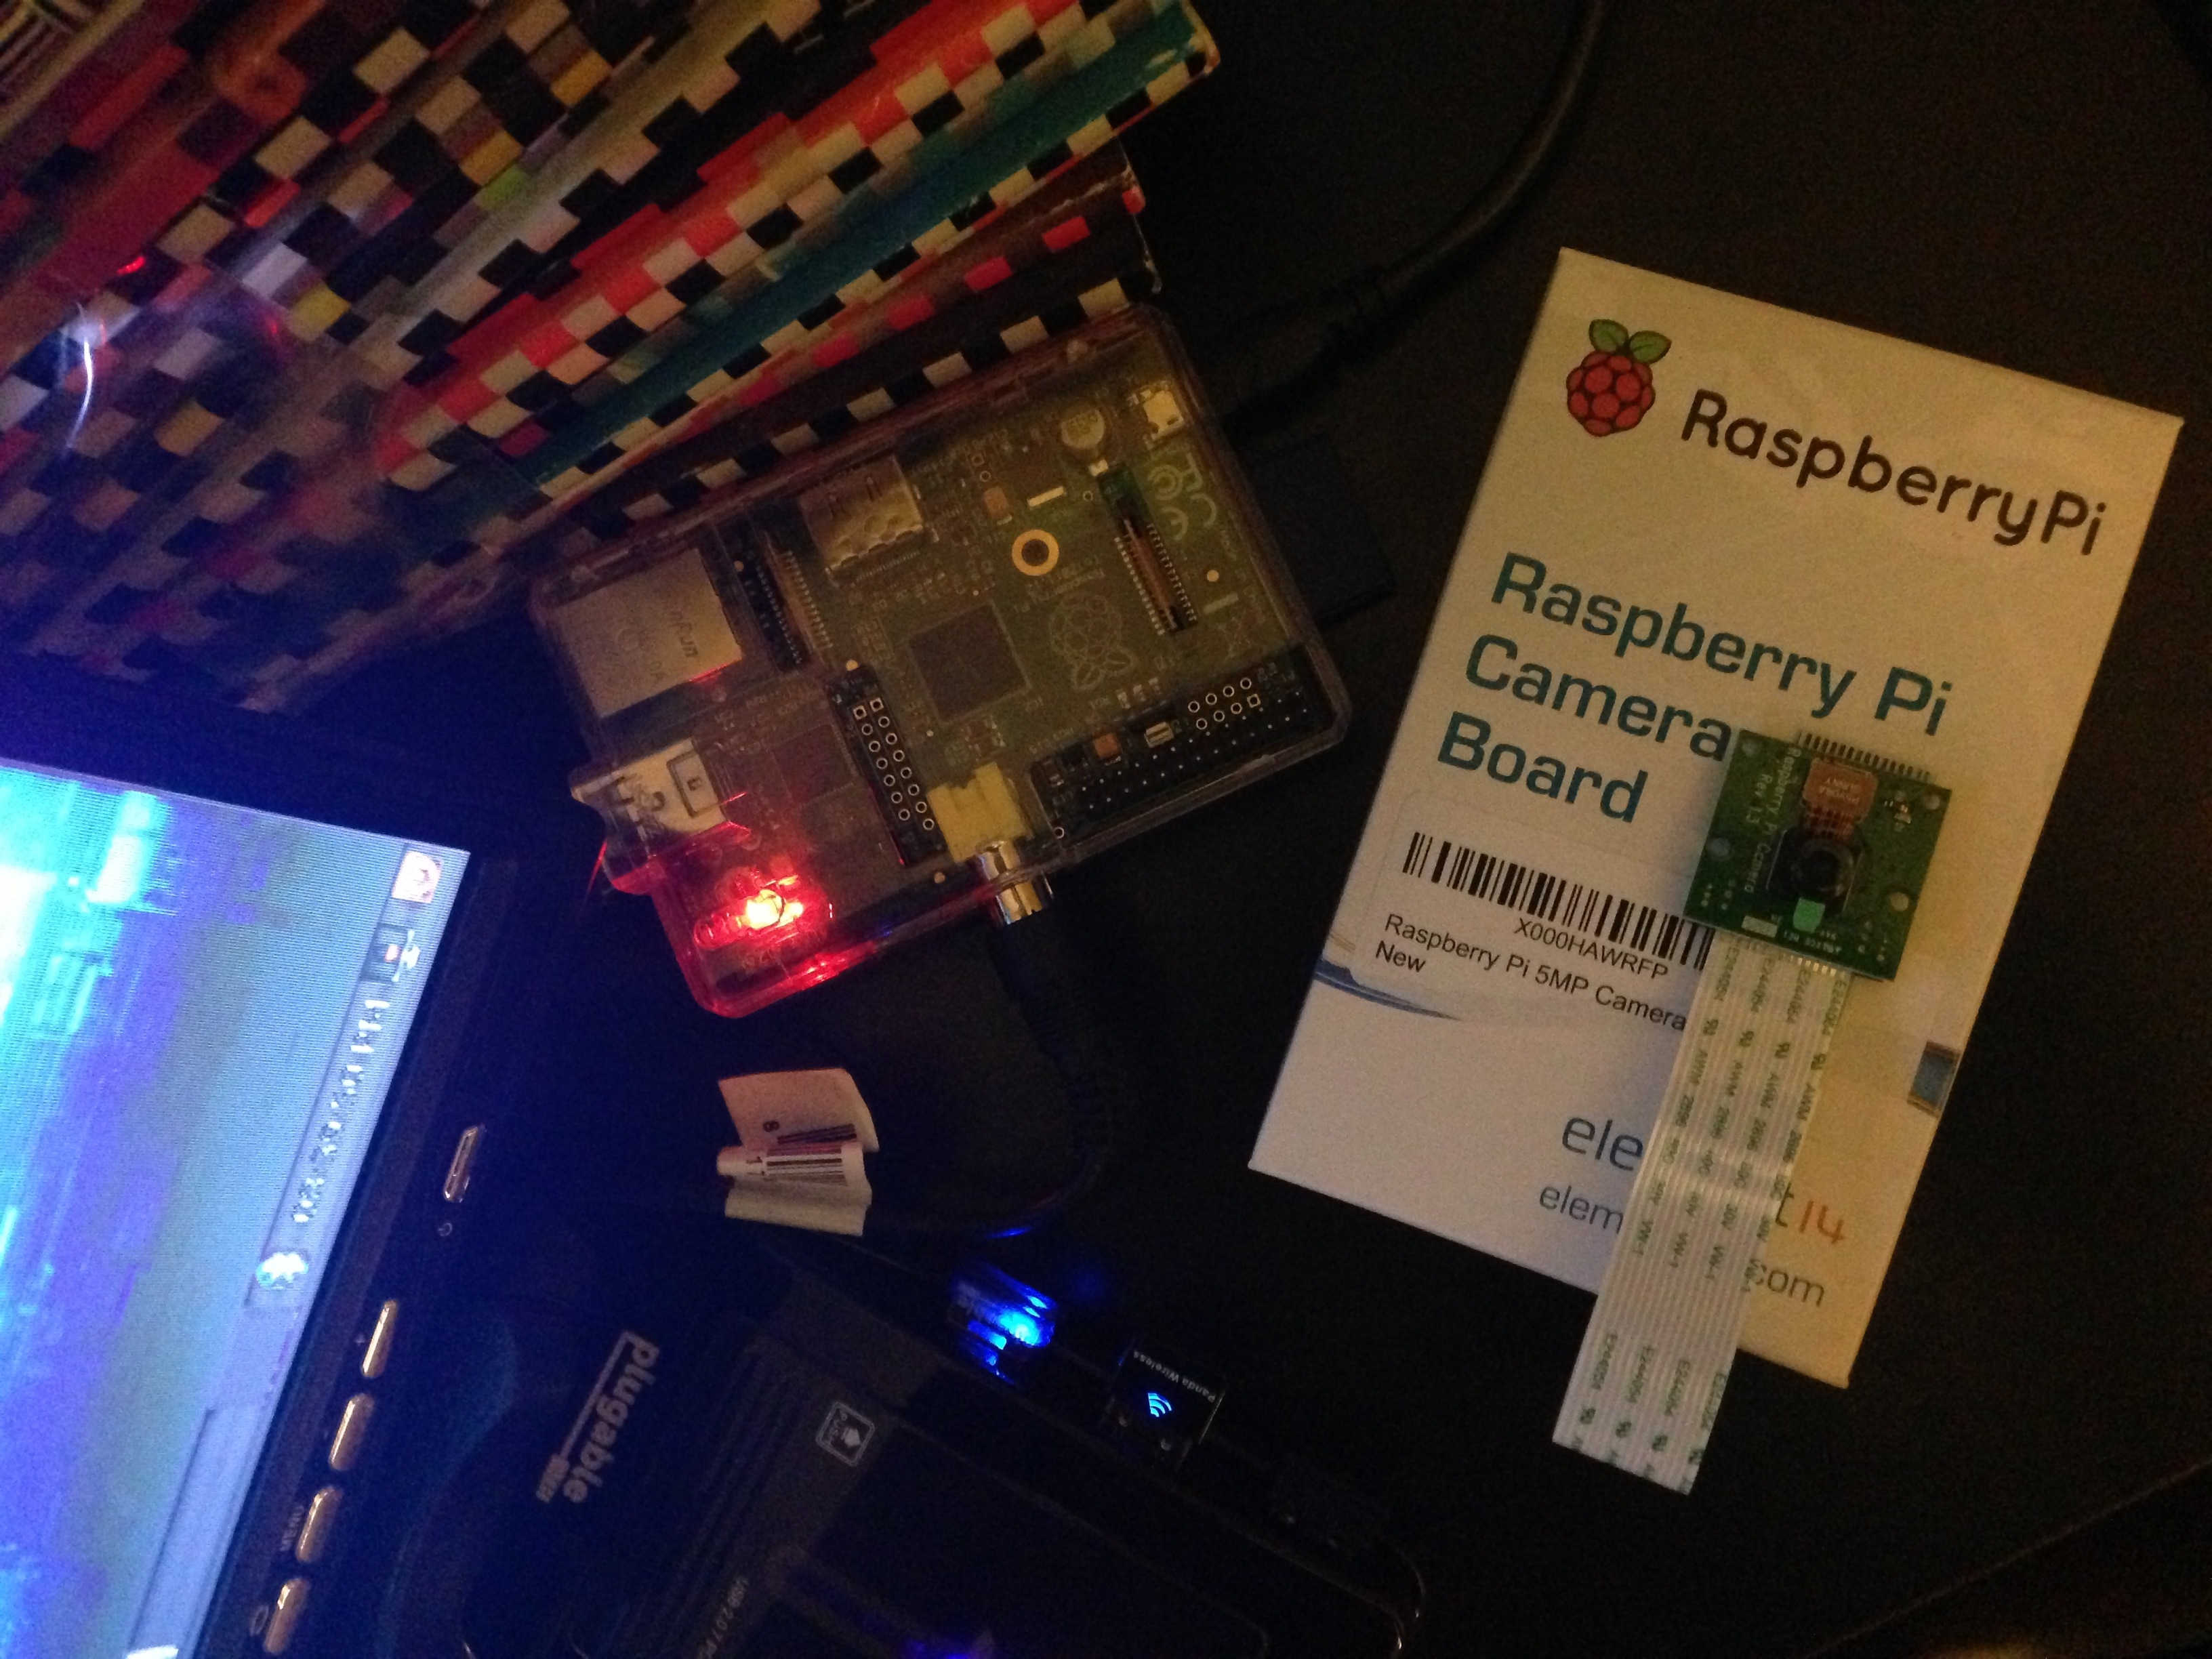
So you got your Raspberry Pi and decided to get a Camera Board to do something awesome with it. Why not turn it a simple video streamer? That’s what I thought too. I wanted to set up a simple security camera for my home so that I can see spy on whoever is lurking around from wherever I am through a web browser. Turns out it wasn’t hard at all to set up. This blog post helped me get started. I’m going to walk you through all the steps I took.
Installing Raspbian
I want to point out that I am using the Debian based Raspbian operating system. I followed this article on how to make the bootable SD card. Basically all I did was download the Raspbian img, unmount the SD card, and ran the dd command (on Ubuntu).
# List the mounted media devices.
df -h

# Unmount SD card to be able to write the img on to it.
# Important that you make sure you are unmounting the correct device.
umount /dev/sdd1

# Now write the img file.
# Adjust the input file path to your own.
# VERY IMPORTANT that the output path is pointing to your SD card.
# If not set correctly it can possibly corrupt your hard drive.
sudo dd bs=4M if=~/Downloads/2013-05-25-wheezy-raspbian.img of=/dev/sdd

# Be patient. It might take a minute or two to copy the Raspbian img on the SD card.
Installing MJPG Streamer
After booting up your Raspberry Pi, install MJPG Streamer.
# Make and change into directory.
sudo mkdir /opt/mjpg-streamer
cd /opt/mjpg-streamer/

# Install the following packages.
sudo apt-get install libjpeg8-dev
sudo apt-get install imagemagick
sudo apt-get install subversion

# Download MJPG Streamer into the current directory.
sudo svn co https://svn.code.sf.net/p/mjpg-streamer/code/mjpg-streamer/ .

# Run make.
sudo make
If you get the following error:
linux/videodev.h: No such file or directory
Make sure you have libv4l-dev installed and create a symbolic link for the header file:
sudo apt-get install libv4l-dev
sudo ln -s /usr/include/libv4l1-videodev.h /usr/include/linux/videodev.h
Start capturing
Alright now for the fun part. Streaming the video.
# Make a directory to store the temporary images.
sudo mkdir /tmp/stream/
# Make the directory writable.
sudo chmod a+rw /tmp/stream/


# Start capturing.
# See what the raspistill options are.
raspistill --help
# You see the record light turn on after executing the following line.
raspistill -w 640 -h 480 -q 5 -o /tmp/stream/pic.jpg -tl 100 -t 9999999 -th 0:0:0 -n &

# See what the MJPG Streamer options are.
/opt/mjpg-streamer/mjpg_streamer --help
# Run the following to start up the MJPG Streamer streaming webserver.
LD_LIBRARY_PATH=/opt/mjpg-streamer/ /opt/mjpg-streamer/mjpg_streamer -i "input_file.so -f /tmp/stream -n pic.jpg" -o "output_http.so -p 9000 -w /opt/mjpg-streamer/www" &
If everything went smoothly you can open up a web browser and go to:
http://<your-raspberry-pi-ip-address>:9000/
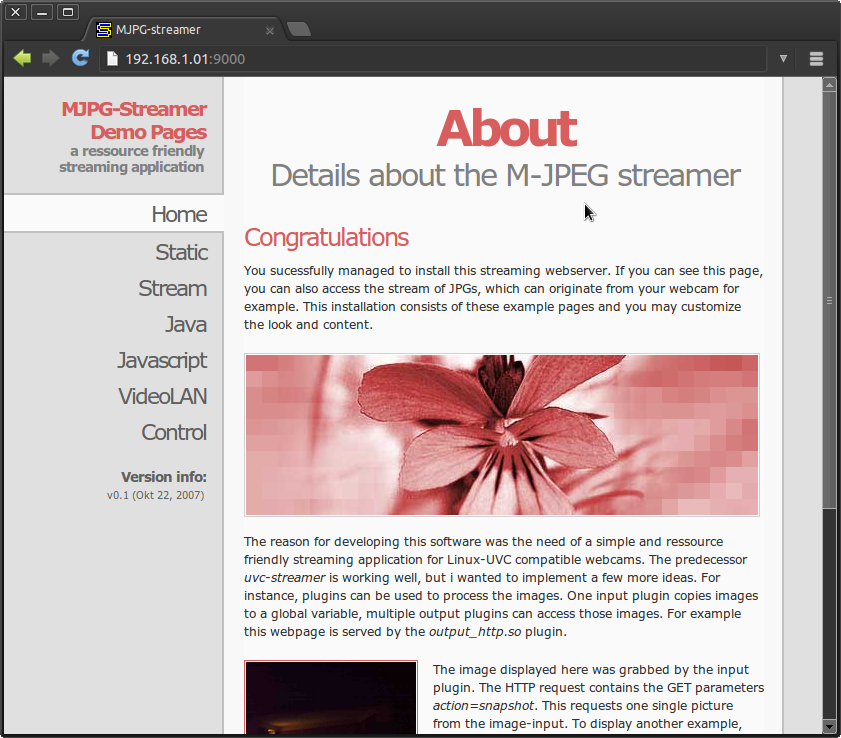
There you have it. To access your streaming webserver remotely you will need to enable port forwarding on your router. Since every router is different I can’t explain how, but the PortForward site can guide you.
Stopping stream
To stop capturing and turn of the webserver we must kill the raspistill and mjpg processes that are running in the background.
# Find the proccess id of `raspistill` and kill it.
pgrep raspistill
kill <process id>

# Find the proccess id of `mjpg` and kill it.
pgrep mjpg
kill <process id>
Bash scripts
Here’s a start_steam.sh and stop_stream.sh bash script to make it a bit easier (gist):
start_stream.sh:
#!/bin/bash

if [ ! -d /tmp/stream ]
then
    mkdir /tmp/stream/
fi

if pgrep raspistill > /dev/null
then
    echo "raspistill already running"
else
    raspistill -w 640 -h 480 -q 5 -o /tmp/stream/pic.jpg -tl 100 -t 9999999 -th 0:0:0 -n > /dev/null 2>&1&
    echo "raspistill started"
fi

if pgrep mjpg_streamer > /dev/null
then
    echo "mjpg_streamer already running"
else
    LD_LIBRARY_PATH=/opt/mjpg-streamer/ /opt/mjpg-streamer/mjpg_streamer -i "input_file.so -f /tmp/stream -n pic.jpg" -o "output_http.so -p 9000 -w /opt/mjpg-streamer/www" > /dev/null 2>&1&
    echo "mjpg_streamer started"
fi
stop_stream.sh
#!/bin/bash

if pgrep raspistill
then
    kill $(pgrep raspistill) > /dev/null 2>&1
    echo "raspistill stopped"
else
    echo "raspistill not running"
fi

if pgrep mjpg_streamer
then
    kill $(pgrep mjpg_streamer) > /dev/null 2>&1
    echo "mjpg_streamer stopped"
else
    echo "mjpg_streamer not running"
fi
Conclusion
The possibilities are endless on the things you can do with a Raspberry Pi. I hope this tutorial helped you get started with simple video streaming on the Raspberry Pi using the awesome camera board module. Leave a comment if this post was useful or not. There is always room for improvement.
Update: 19 Jan 2014 - Easier way to stream
I stumbled upon this fork of MJPG Streamer on github which comes with the raspicam input plugin. Using this version of MJPG Streamer we can skip dealing with raspistill and let the raspicam plugin take care of creating the images. Here’s how to install it.
# Install dev version of libjpeg
sudo apt-get install libjpeg62-dev

# Install cmake
sudo apt-get install cmake

# Download mjpg-streamer with raspicam plugin
git clone https://github.com/jacksonliam/mjpg-streamer.git ~/mjpg-streamer

# Change directory
cd ~/mjpg-streamer/mjpg-streamer-experimental

# Compile
make clean all

# Replace old mjpg-streamer
sudo rm -rf /opt/mjpg-streamer
sudo mv ~/mjpg-streamer/mjpg-streamer-experimental /opt/mjpg-streamer
sudo rm -rf ~/mjpg-streamer

# Begin streaming
LD_LIBRARY_PATH=/opt/mjpg-streamer/ /opt/mjpg-streamer/mjpg_streamer -i "input_raspicam.so -fps 15 -q 50 -x 640 -y 480" -o "output_http.so -p 9000 -w /opt/mjpg-streamer/www" &
Updated start/stop bash scripts (gist).
start_steam.sh:
#!/bin/bash

if pgrep mjpg_streamer > /dev/null
then
  echo "mjpg_streamer already running"
else
  LD_LIBRARY_PATH=/opt/mjpg-streamer/ /opt/mjpg-streamer/mjpg_streamer -i "input_raspicam.so -fps 15 -q 50 -x 640 -y 480" -o "output_http.so -p 9000 -w /opt/mjpg-streamer/www" > /dev/null 2>&1&
  echo "mjpg_streamer started"
fi
stop_stream.sh:
#!/bin/bash

if pgrep mjpg_streamer
then
  kill $(pgrep mjpg_streamer) > /dev/null 2>&1
  echo "mjpg_streamer stopped"
else
  echo "mjpg_streamer not running"
fi
I found this solution to work much more smoother than what I previously posted. Here’s a short Vine video showing it in action.